
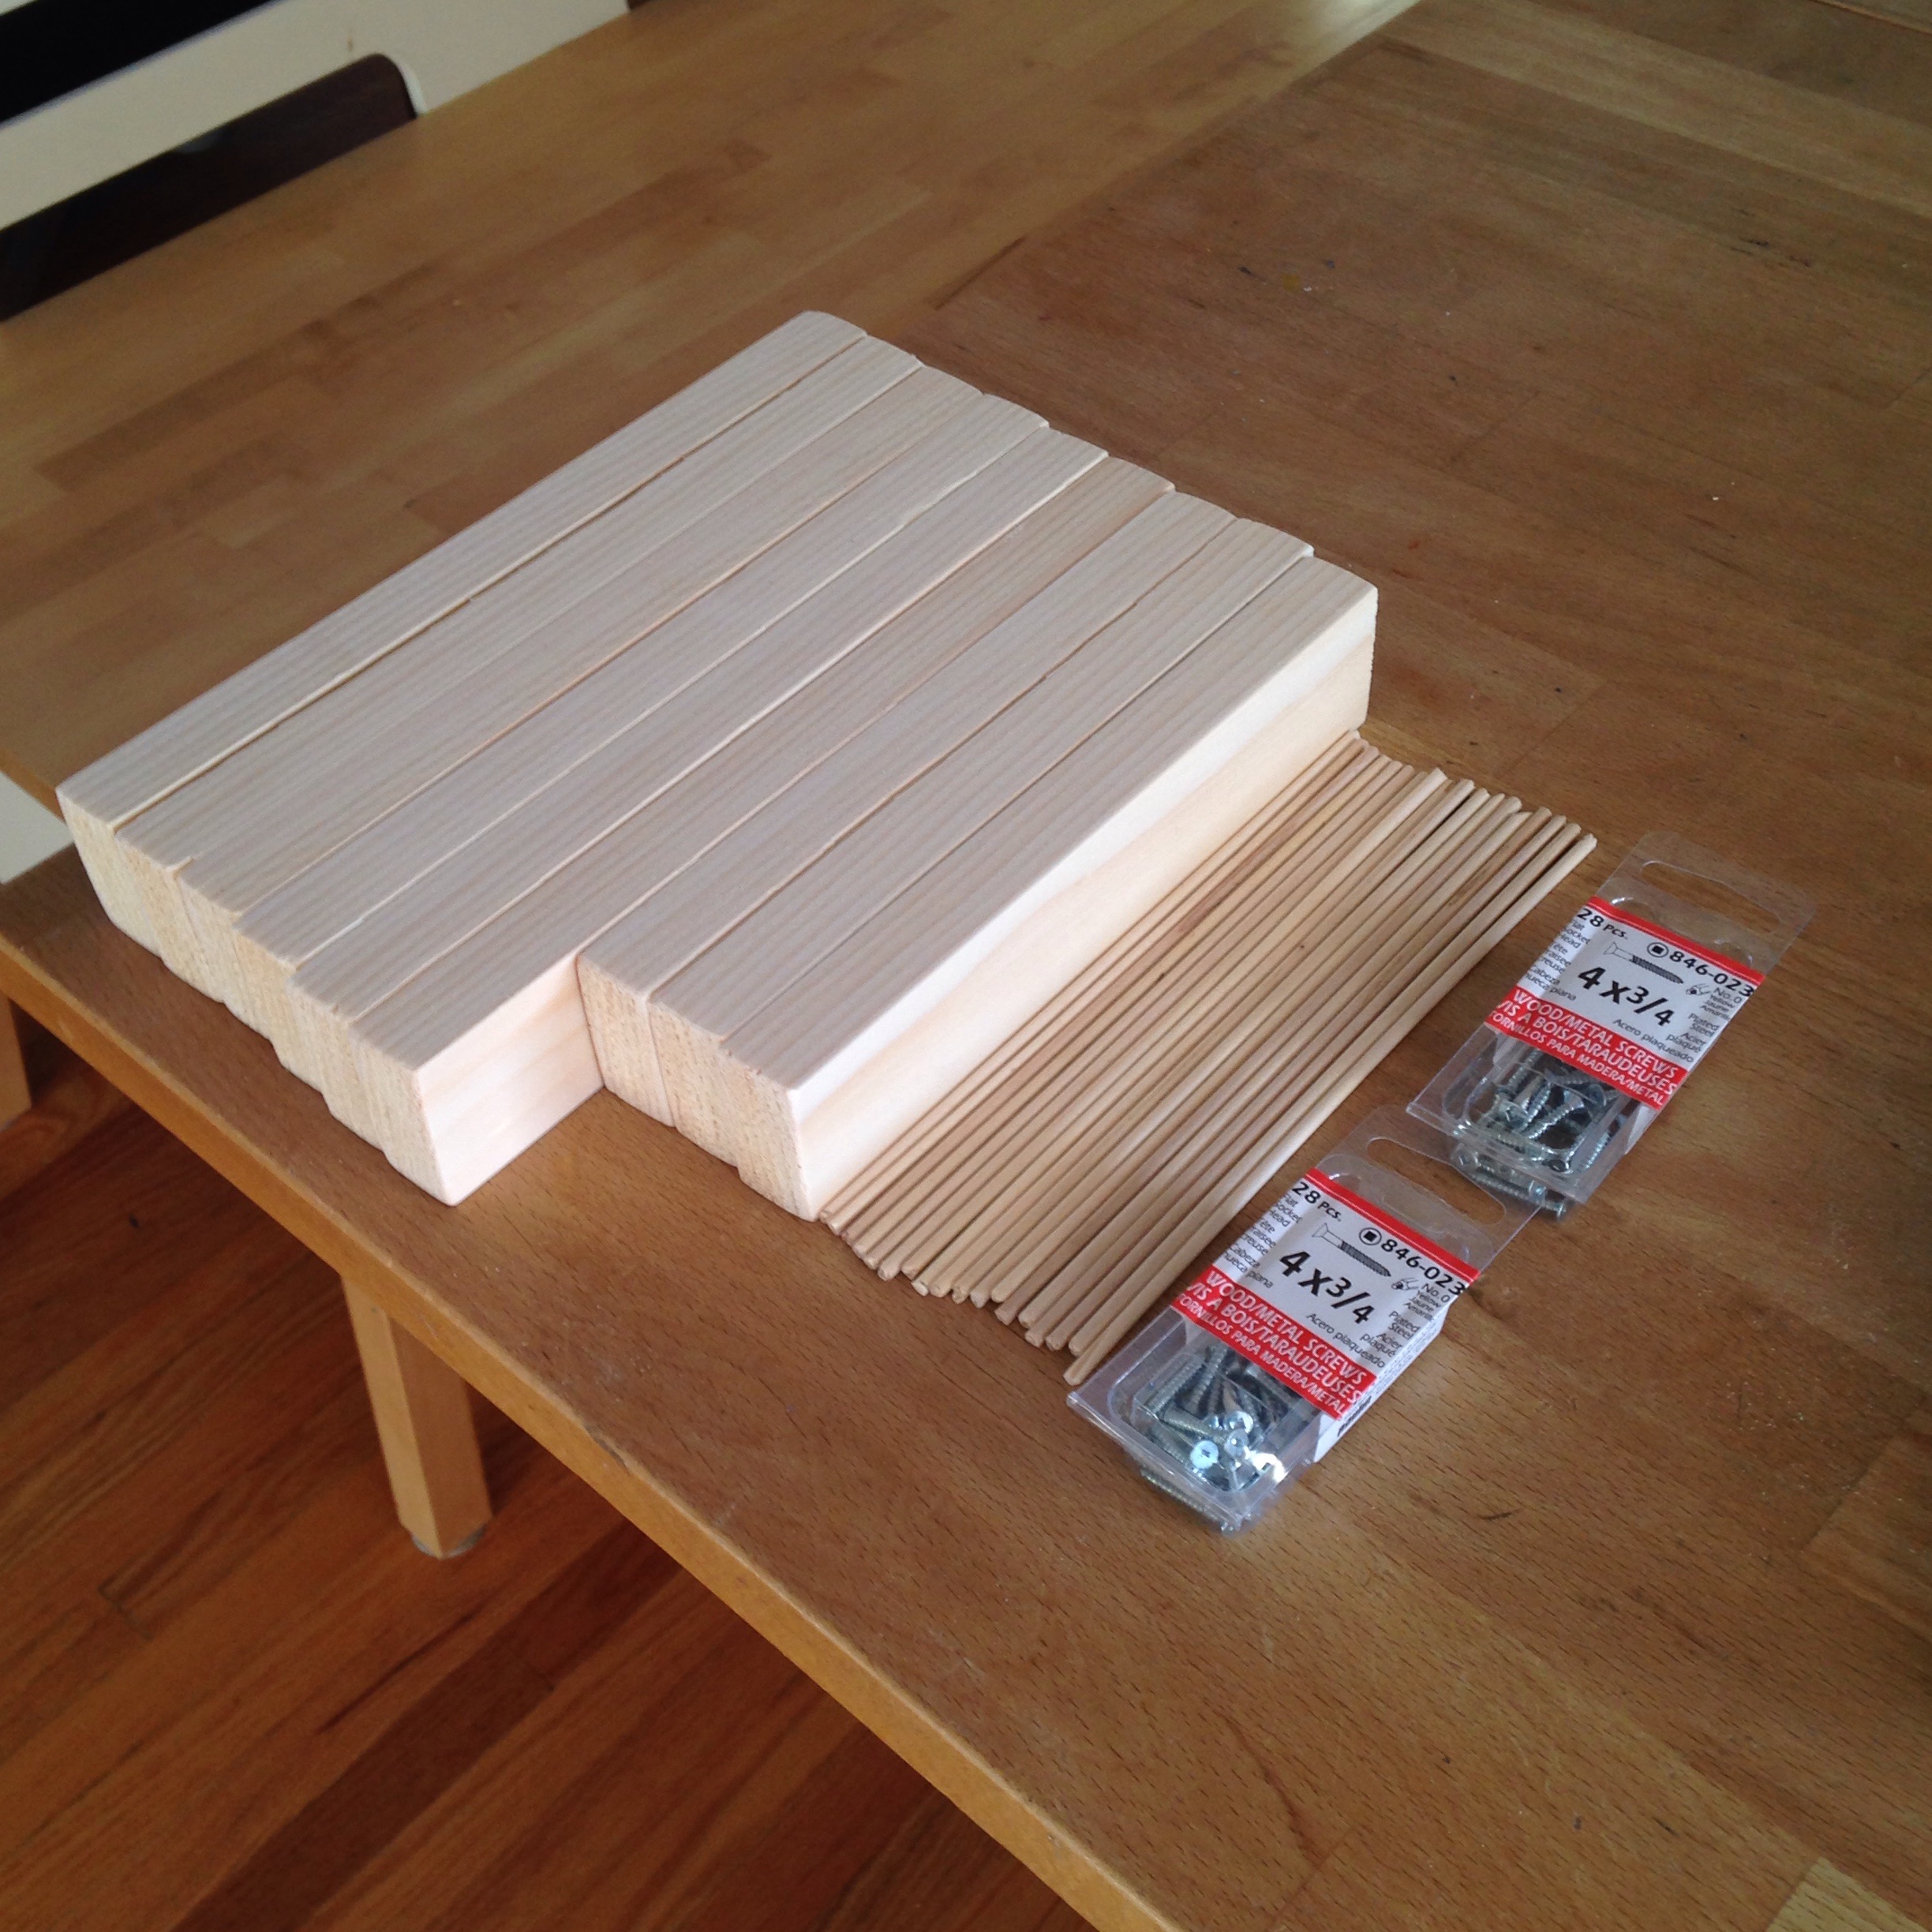
For under $20 you can make some bead racks as long as you have a saw, drill and hammer. I like to keep my beads on racks because then I feel like there’s a little bead store in my house and since I’m always changing my bracelets, I can easily see what’s there.
Here are the dimensions that I used, but you can easily change that. The wood we used is pretty rough, but that’s because there’s not much point buying nice wood since we are totally not talented with carpentry at my house and we don’t have many tools.

To hold the rods, which are just wooden dowels, we used flat head counter sink screws.
After we cut the wood and sanded it, I painted the wood so that it would blend in with the tiles on the backsplash in the kitchen.
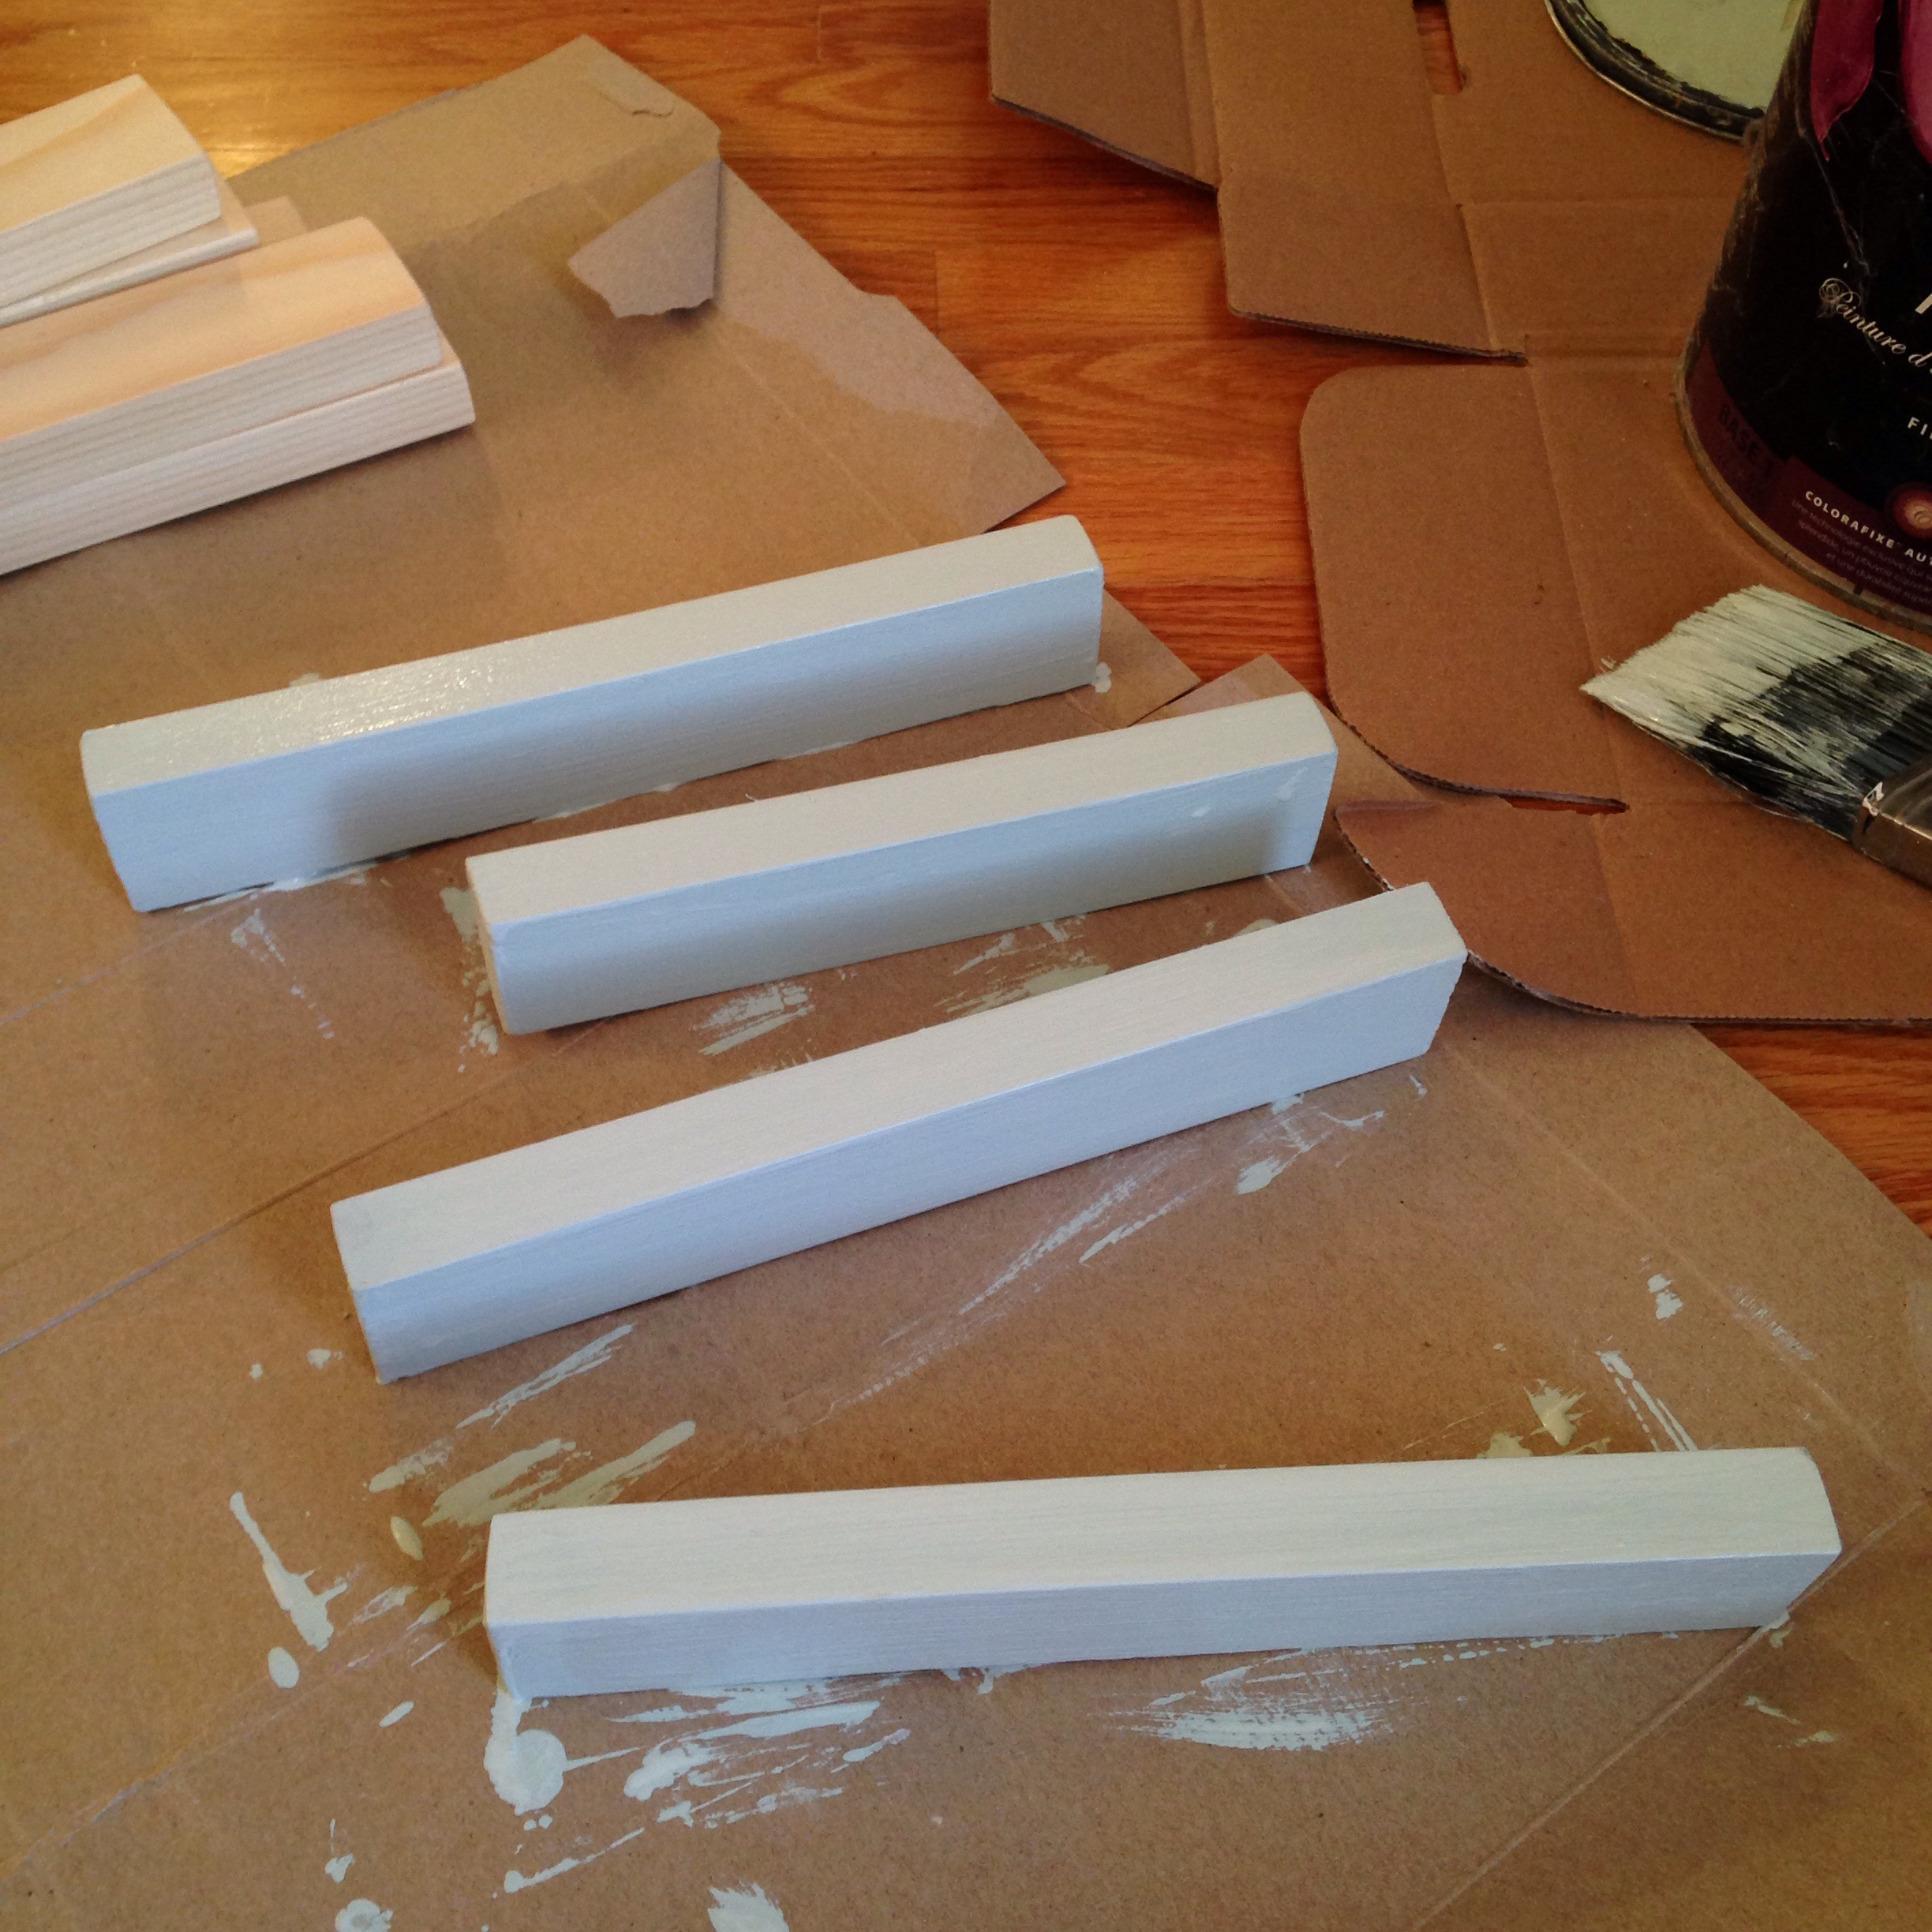
After painting we (and by we I mean mostly my husband) nailed the side pieces to the base. Next we drilled pilot holes in the wood, then put in the screws using a screw driver attachment on the drill.

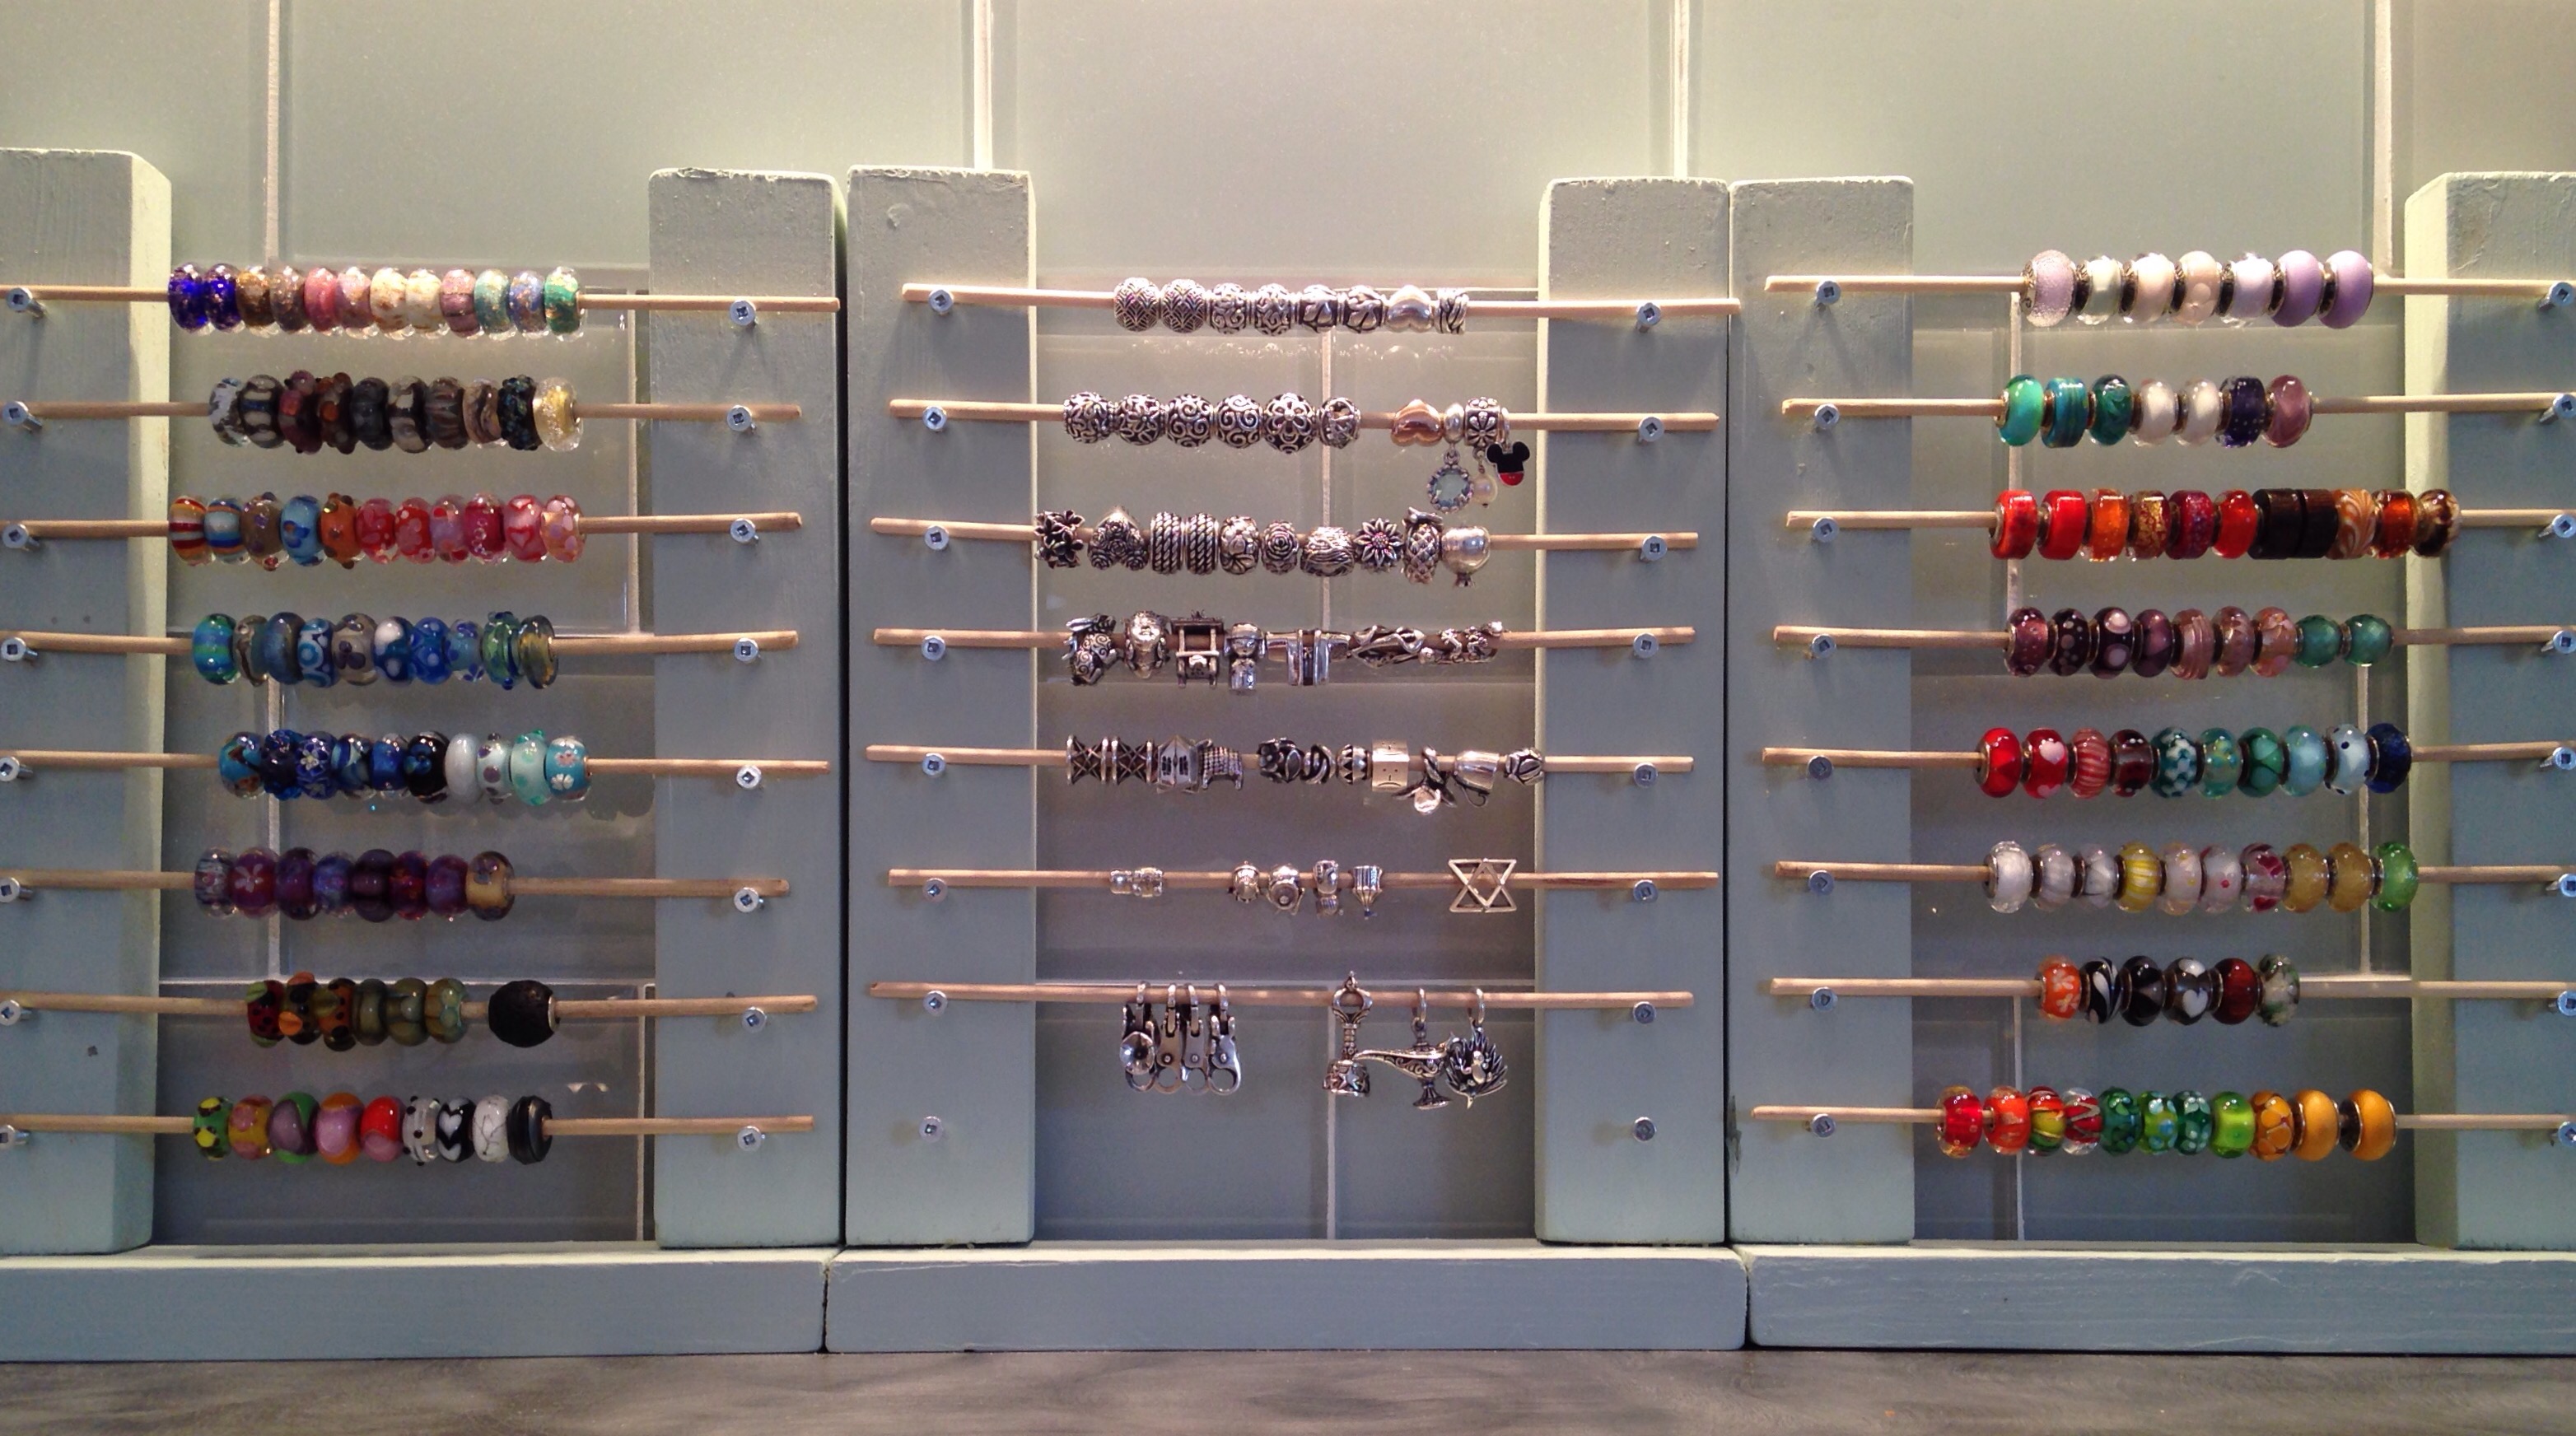
Then, I organized the beads!

One rack is for just Trollbeads.
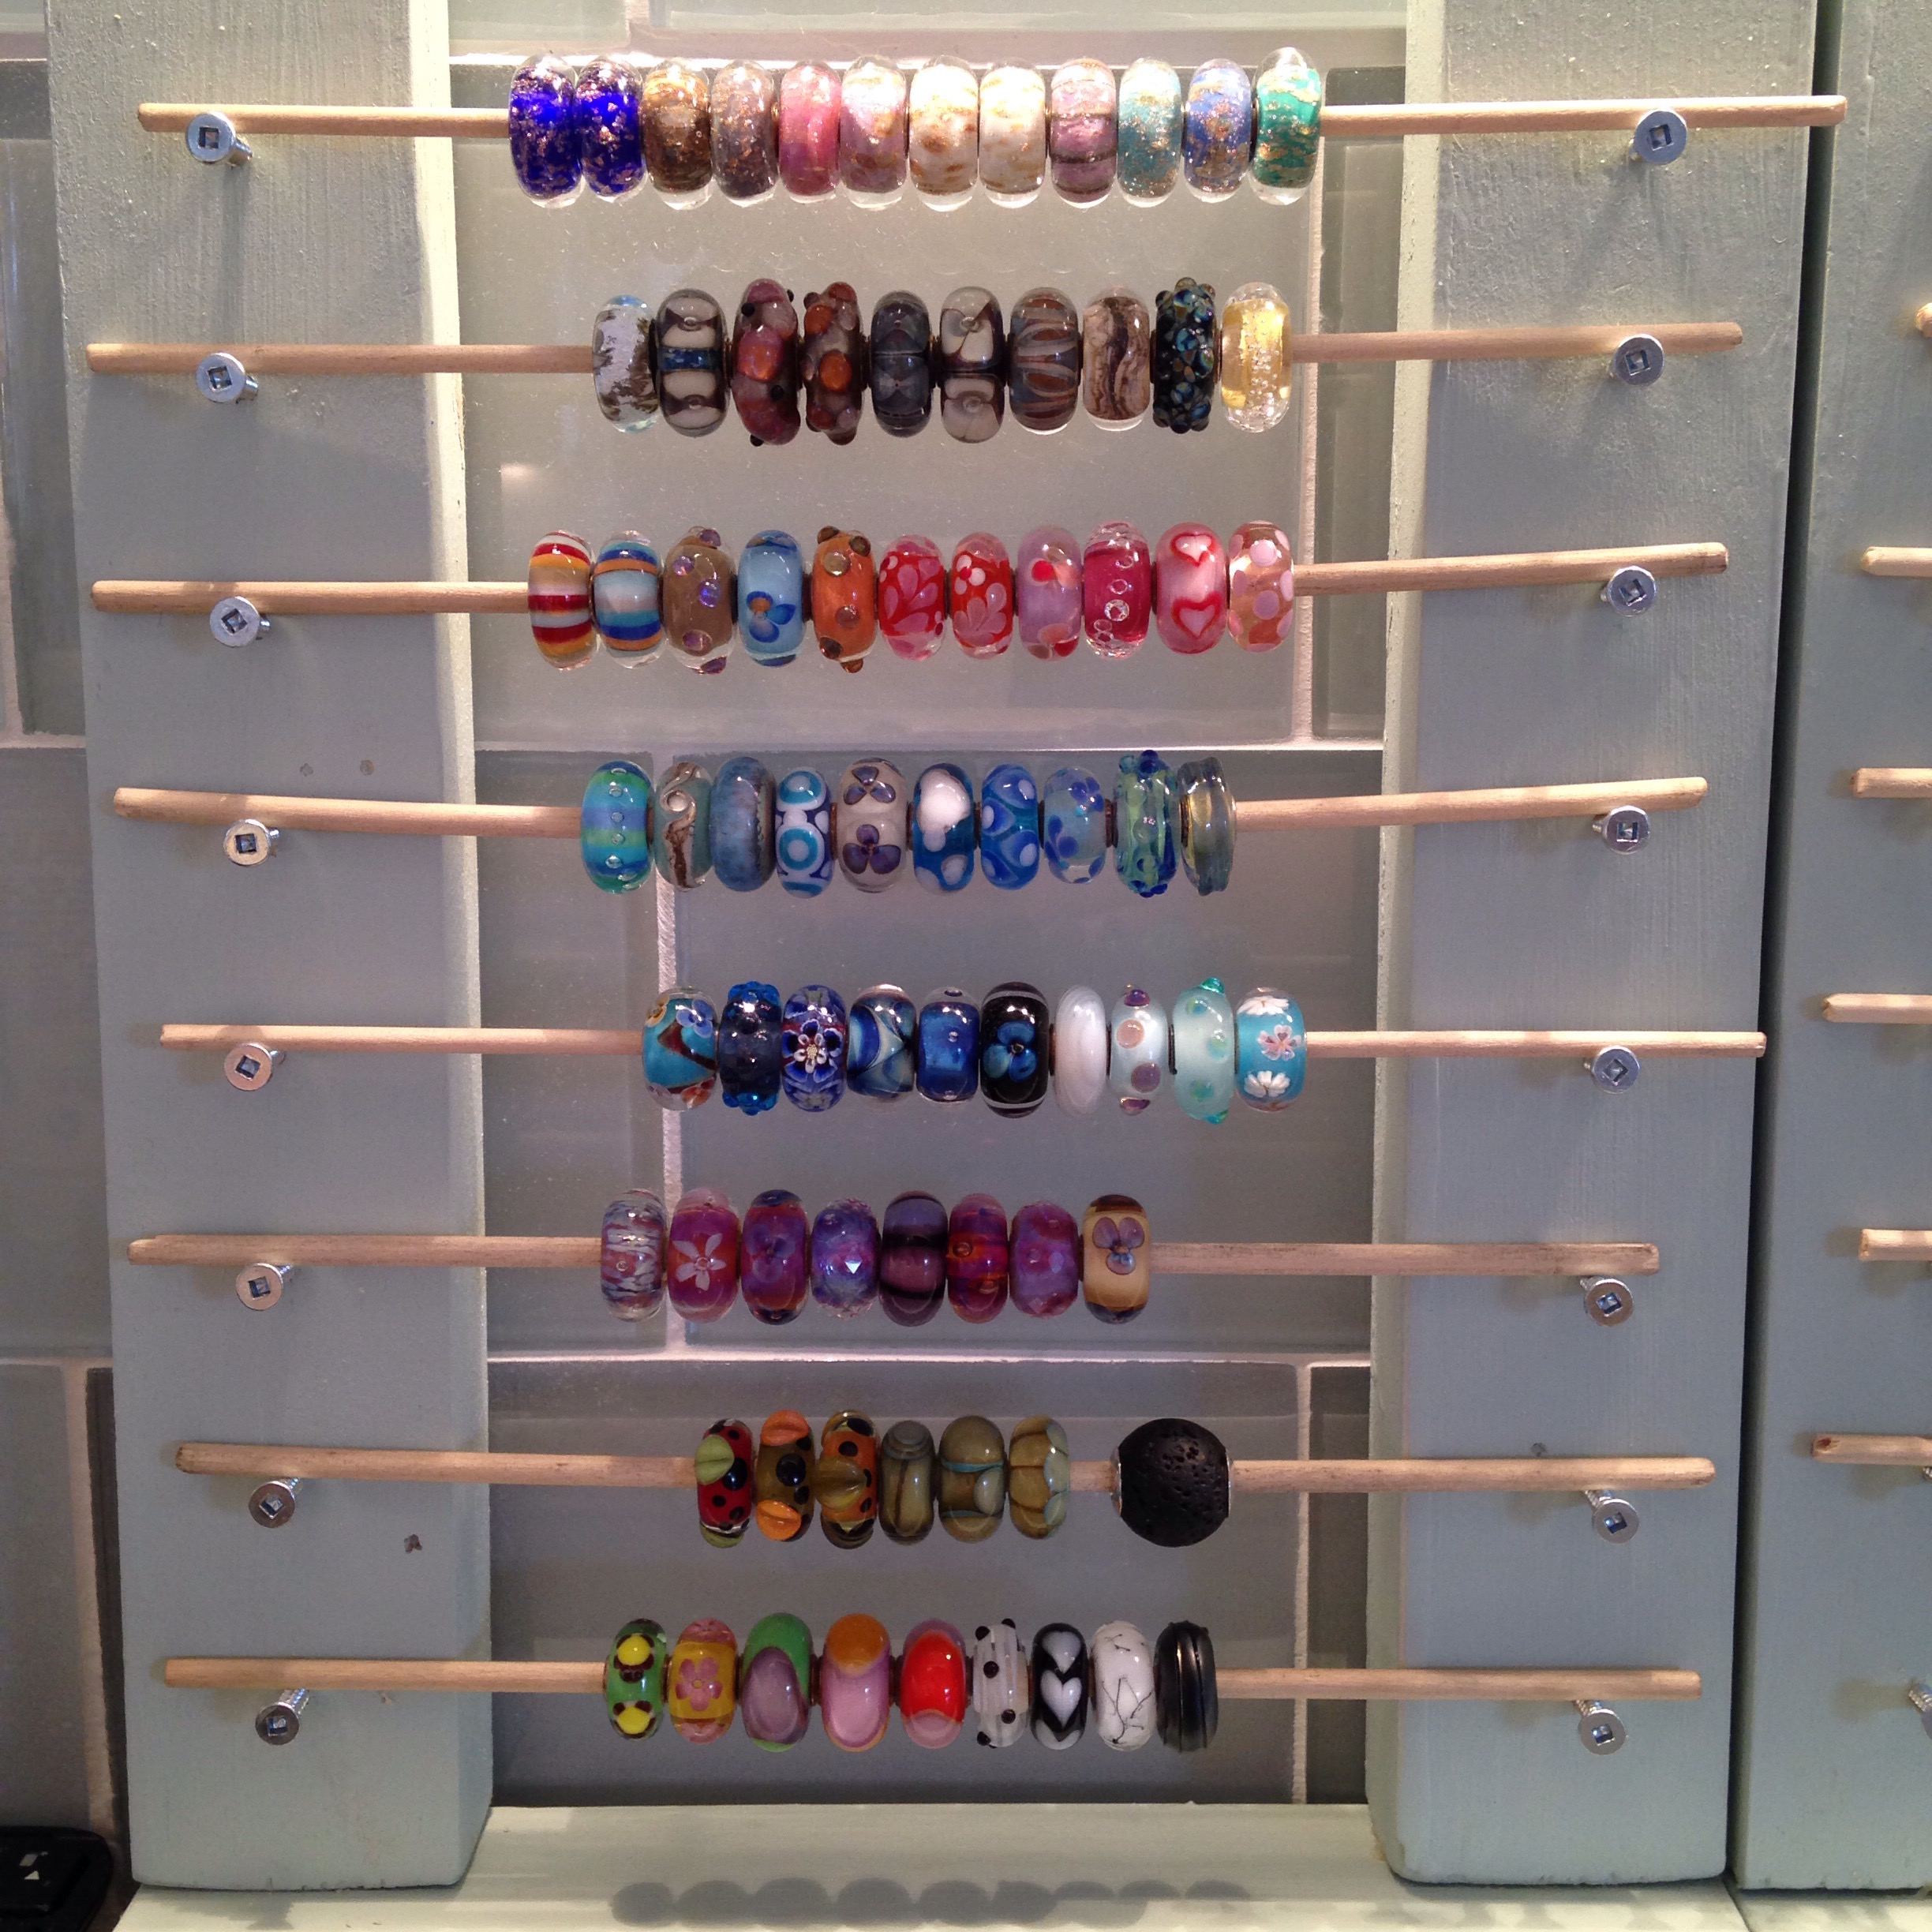
The middle one is for the silvers.

The one on the right holds True Beadz, Ohm Beads, Pandora and a few miscellaneous Trollbeads.
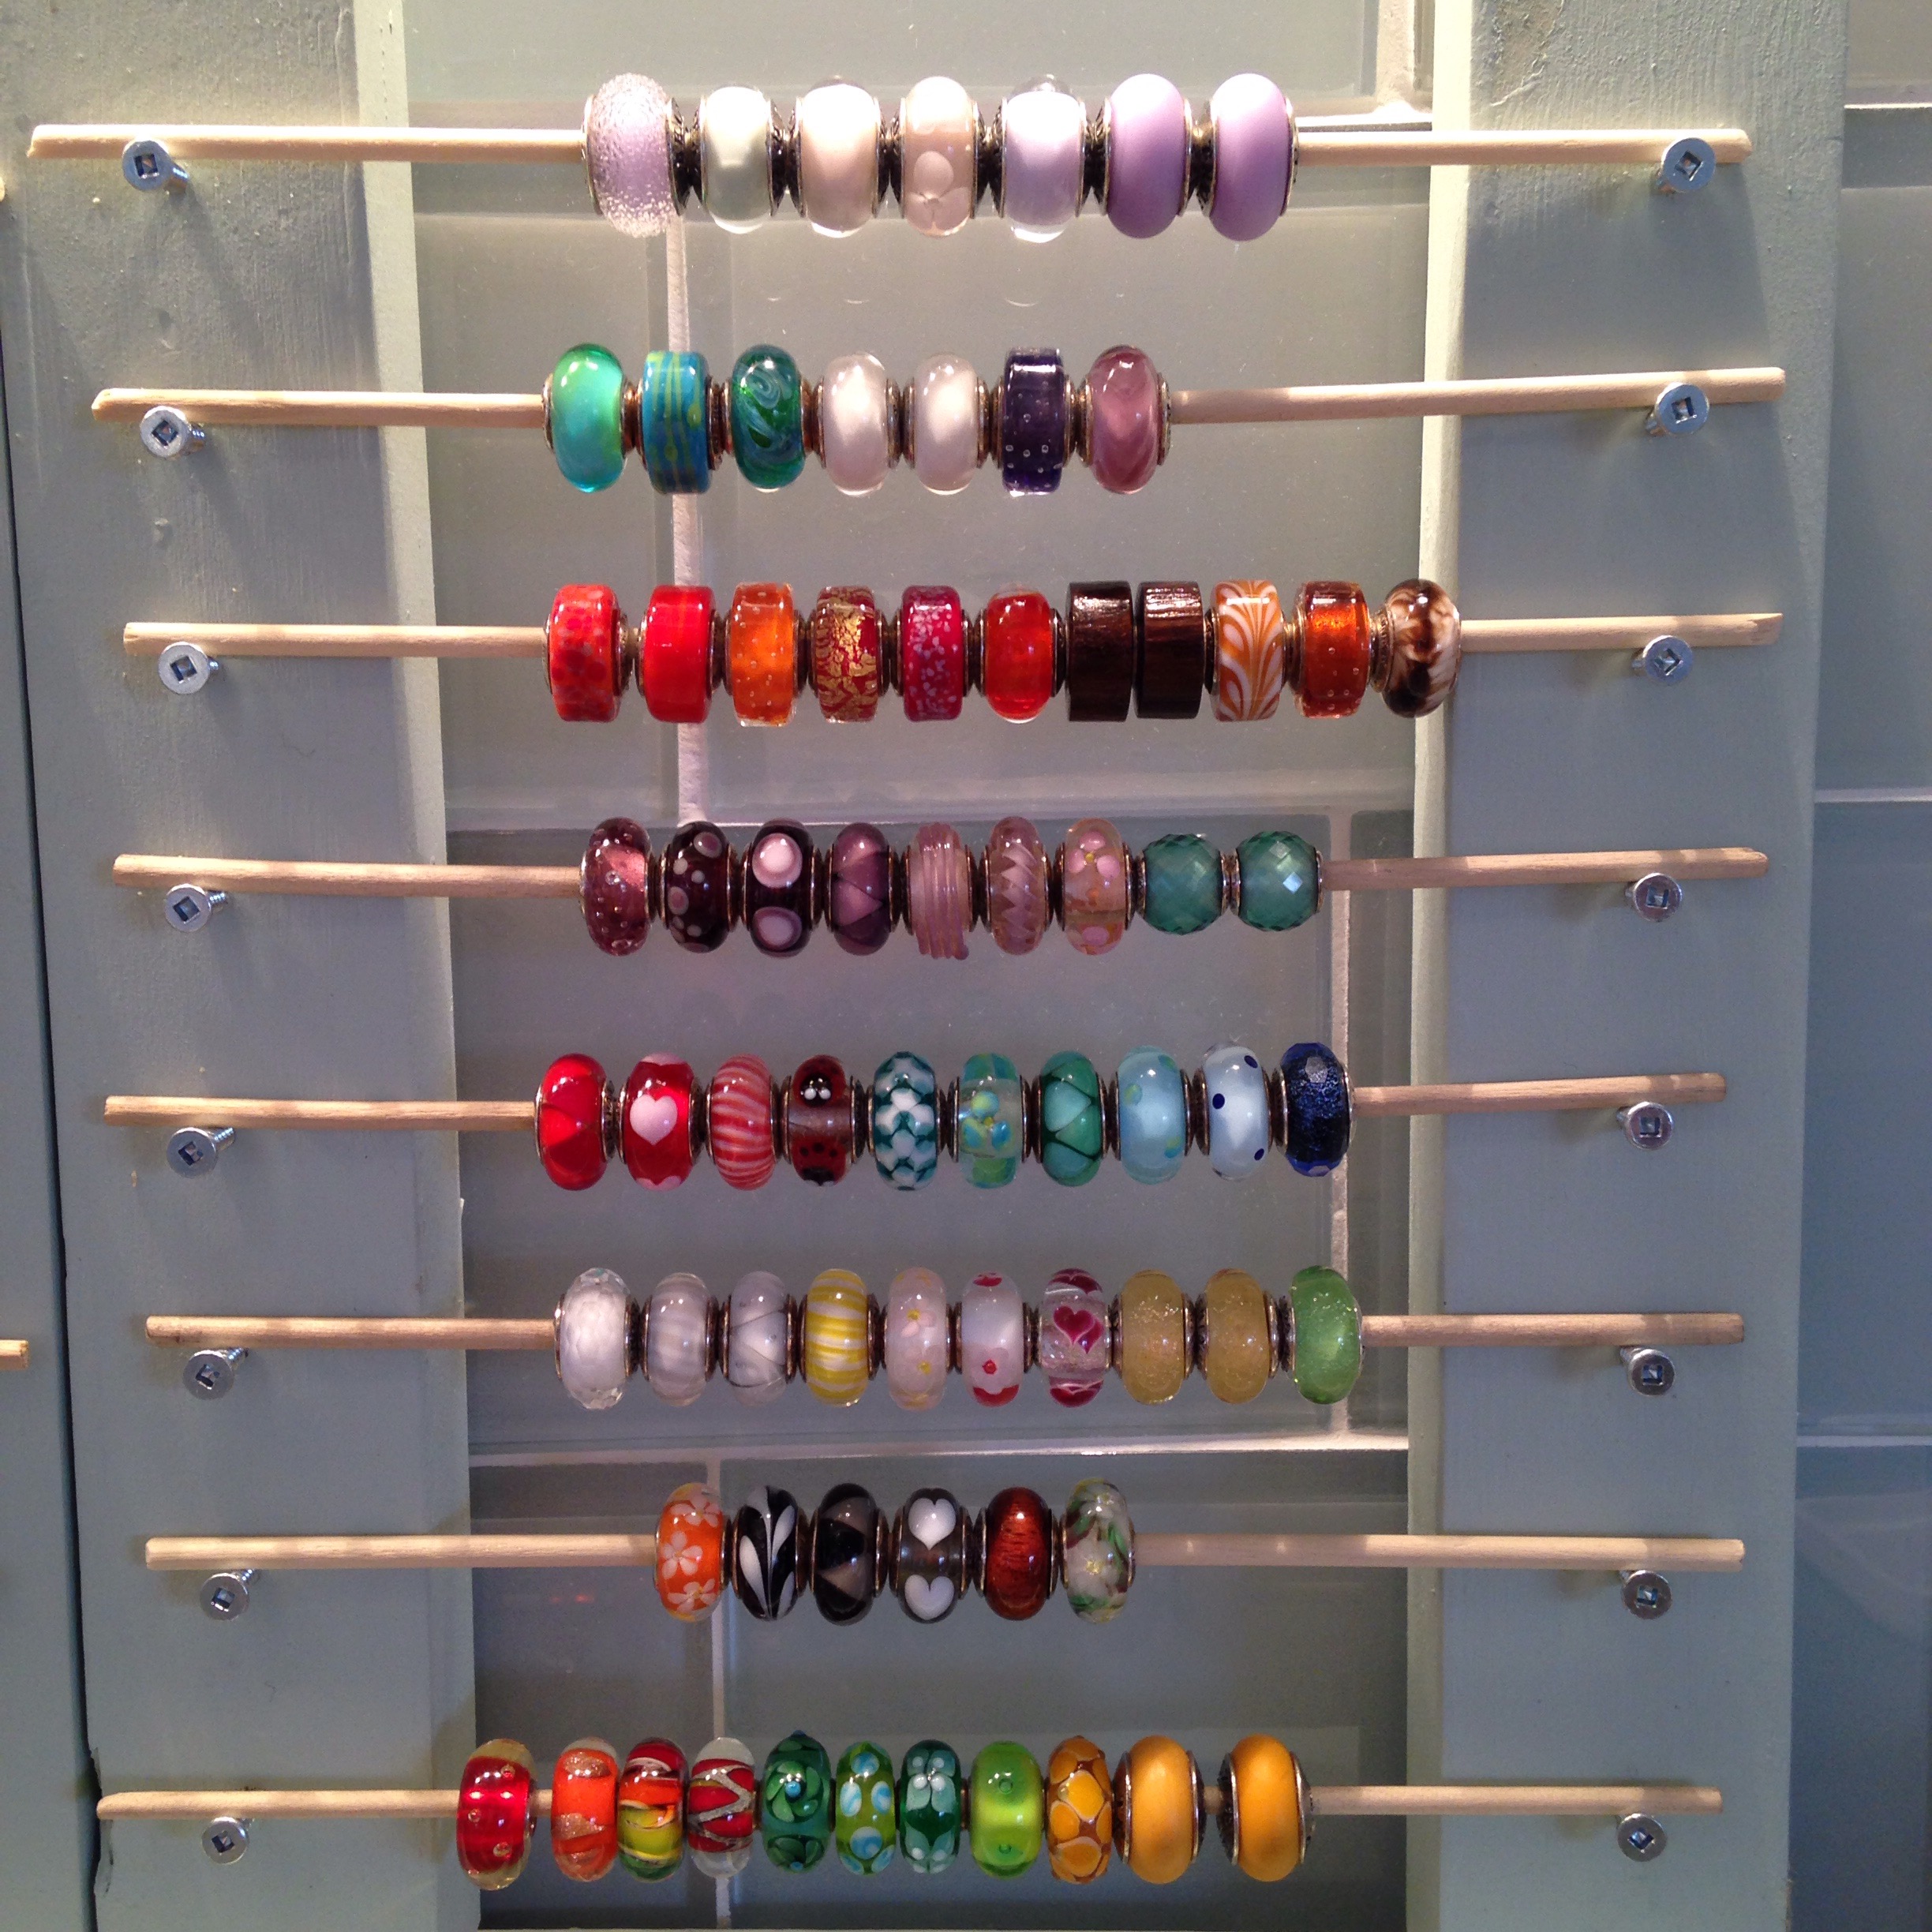
And here they all are together. If anyone has any questions, just let me know!

Well done you !!!! Fabulous – I just loved seeing all your beads – they look incredible X thanks for sharing X
LikeLike
Thanks very much, Kerry! I love seeing other people’s beads, so thought these would be some fun pictures.
LikeLike
Beautiful idea! I might make one for my craft room. I am designing a craft room for knitting and sewing. A white Ikea table for cutting and sewing only now, wall color is very light pale pink with taupe carpeting. I love pink, lavender, purple, sage green, white for this room. I will add a bookcase, dresser. I can make a bead rack put on dresser or screw on the wall above dresser. Thank you!
LikeLike
My pleasure! Your craft room sounds lovely! I love the colours you’ve chosen. And a white table would be perfect for sitting and playing with beads while you’re taking a break from cutting and sewing. 😉
LikeLike
Are those 1/8″ (3mm) dowels?
LikeLike
Yes, that’s exactly right.
LikeLike